
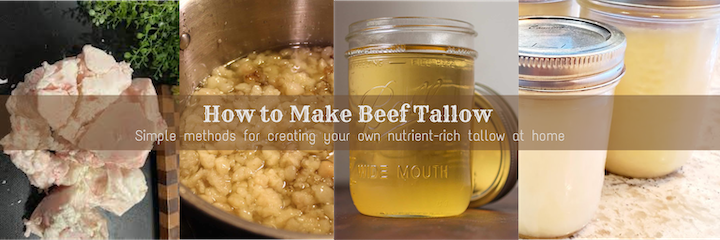
A Step-by-Step Guide to Rendering Your Own Skincare Gold
Making beef tallow isn’t just a homesteader’s hobby anymore—it’s a practical, sustainable, and rewarding way to create one of the most nourishing fats for both cooking and skincare. Whether you’re crafting a whipped tallow face cream or want a clean fat source for cooking, rendering beef fat for tallow at home is easier than you think.
When you render your own, you control the quality, process, and source. Plus, it’s cost-effective and minimizes waste. And honestly, there is something deeply satisfying about turning humble suet into golden, shelf-stable tallow.
1. Sourcing the Right Beef Suet
The first step in learning how to make beef tallow is finding the right kind of fat. You want beef suet, which is the raw, hard fat found around the kidneys and loins of cows. It’s dense, clean, and yields a superior, neutral-smelling tallow.
Your best bet is to buy suet from a local butcher, farmer’s market, or directly from a grass-fed beef farm. Always ask for pasture-raised, grass-fed suet—this produces the cleanest, most nutrient-rich tallow.
a. Seven Sons Farms Beef Suet:
A pure, unrendered fat from 100% grass-fed, pasture-raised cattle, responsibly raised & minimally processed.

b. Arizona Grass Raised Beef Co. Beef Suet:
A naturally sourced, healthy, versatile fat that is ideal for both cooking and the formulation of skincare products.

c. White Oak Pastures Beef Suet
A premium fat harvested from pasture-raised cattle raised on a regenerative family farm. Ideal for rendering into tallow.

d. US Wellness Meats Beef Suet
a high-quality, 100% grass-fed fat sourced from pasture-raised cattle, perfect for rendering, cooking, & crafting natural skincare products.

e. Atora Shredded Beef Suet
A classic, shelf-stable cooking fat made from shredded beef suet, traditionally used in British baking and savory dishes. Ready to use straight from the box.

2. Choosing the Right Equipment
You don’t need fancy gear to learn how to render beef fat for tallow, but the right tools make the process smoother: heavy-bottom pot, fine mesh strainer, heat-safe mason jars, metal spoon for stirring, funnel


| PRO TIP: Do not use aluminum pans which can react with the fat. Instead, use stainless steel for all utensils |
3. Prepping the Suet
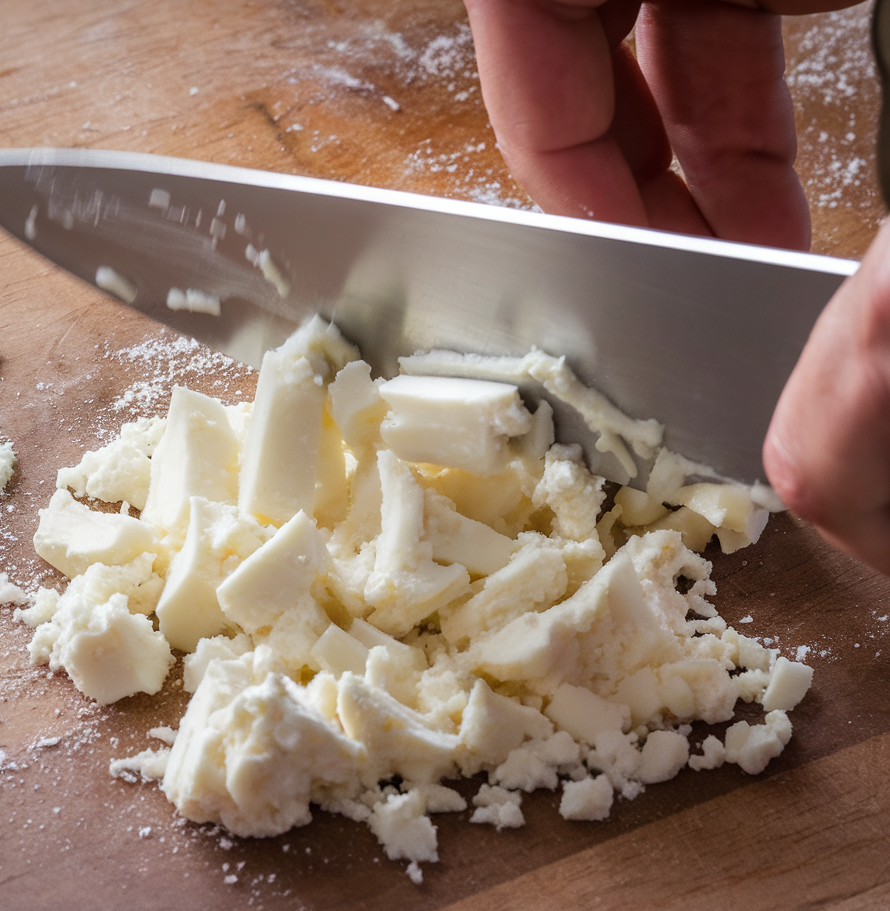
Once you have your suet, the next step is trimming and chopping. Use a sharp knife to remove any bits of meat or connective tissue. The cleaner your fat, the purer and more shelf-stable your tallow will be.
Then chop the suet into small cubes or, better yet, pulse it in a food processor. Smaller pieces melt more evenly and reduce the risk of burning. This prep step takes about 20–30 minutes depending on quantity.
4. The Rendering Process (a.k.a. Melting the Magic)
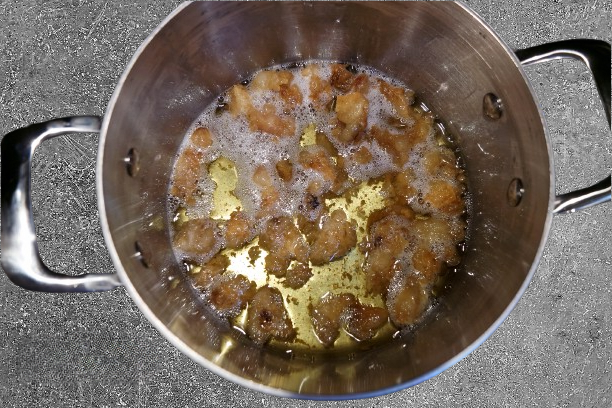
Add your chopped suet to your pot or slow cooker and set the heat to low. Low and slow is the name of the game. Stir occasionally to prevent sticking or scorching.
The fat will gradually melt, releasing liquid and leaving behind crispy cracklings (also known as greaves). This process takes 2–4 hours depending on volume and temperature.
You’ll know it’s done when the bubbling subsides and the solids look brown and crispy.
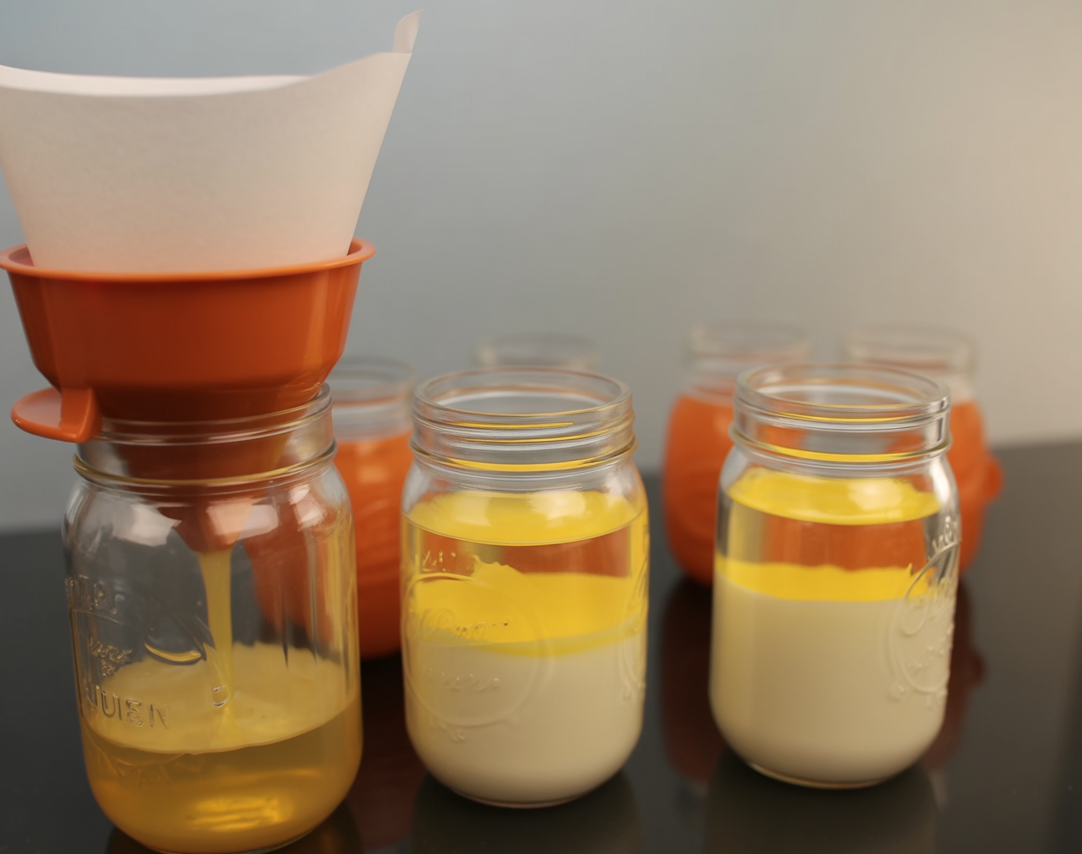
5. Straining the Liquid Gold
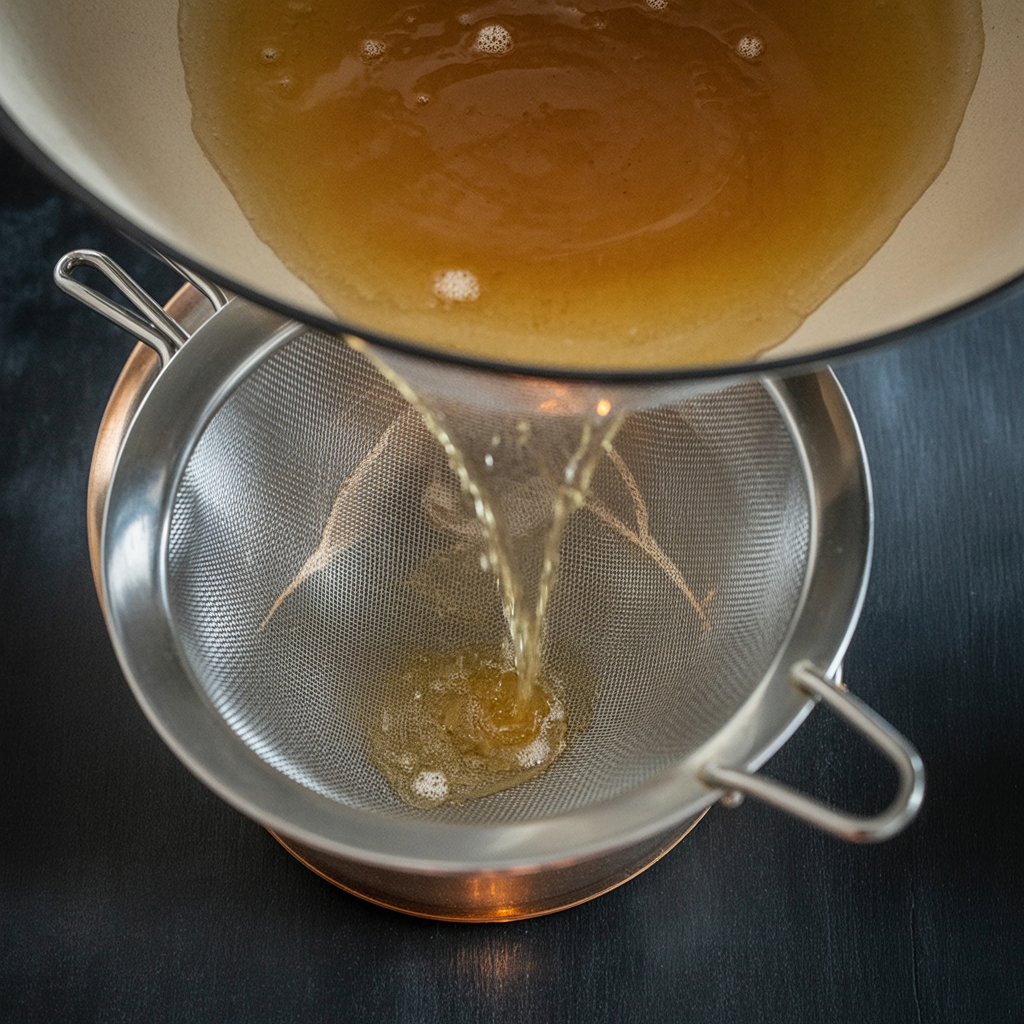
Once your fat is fully melted and golden, it’s time to strain. Carefully pour the hot liquid through a fine mesh strainer lined with cheesecloth into a clean glass jar.
Take your time—this step ensures your tallow is smooth, pure, and free of sediment. Let it cool on the counter until it begins to solidify into a creamy white texture.
6. Cooling and Storing Tallow Properly
As your tallow cools, it will turn from golden liquid to opaque solid. Once fully cooled, secure the lid and store it in a cool, dark place.
Tallow stored in an airtight jar will last 3–4 months at room temperature or over a year in the fridge or freezer. Always use clean utensils when scooping to extend its shelf life.
7. Troubleshooting Common Mistakes
Rendering beef fat for tallow is straightforward, but here are a few common issues:
Does the tallow have a smoky smell?
Your rendering heat was too high.
Is the tallow very foamy or cloudy?
It was strained improperly, get something finer.
Is the solid tallow extra greasy or gritty in texture?
You may not have trimmed the suet properly.
Don’t worry — even if it’s not perfect, your homemade tallow will still work beautifully for skincare or cooking.
8. Ways to Use Your Homemade Tallow
Once you’ve mastered how to make beef tallow, the possibilities open up. For skincare, it’s the base of incredible moisturizers like whipped tallow face cream. It’s deeply emollient and perfect for dry, damaged, or sensitive skin.
In the kitchen, tallow is a fantastic fat for frying, sautéing, and baking. It has a high smoke point and imparts a rich flavor to roasted vegetables, hash browns, or pie crusts.

9. Why Render Your Own? The Final Word
Learning how to render beef fat for tallow isn’t just a traditional skill—it’s a practical one. It saves money, reduces waste, and gives you access to one of the most skin- and cooking-friendly fats on earth.
With minimal equipment and a little time, you can create your own stash of this creamy, nourishing wonder-fat. Whether you plan to cook with it or craft a diy whipped tallow face cream, one thing’s for sure: once you make your own, you may never go back to store-bought.


